+1 Stone Skipping by Meow Labs is a simple game to start, but a few things can trip you up. This guide covers your first session from start to finish. You'll train SKILL, throw from the yellow Throw Zone for Wins, buy your first stones and relics, hatch the 50-Win Common egg and rebirth for the first time at MAX LEVEL 20.
How the game works
The game is one loop that you repeat:
- Train SKILL by standing on a training lane. Your Level bar fills up too.
- Throw your stone from the yellow Throw Zone to earn Wins (the trophy counter, bottom left).
- Spend Wins on better stones, relics and eggs.
- Rebirth at MAX LEVEL to raise your SKILL multiplier and unlock higher training lanes.
The more SKILL you have, the farther you throw and the more Wins you get.
The yellow tutorial banner at the top of the screen walks you through all of this. Its goals come in this order:
Get 30 Skills → Get 2 Wins → Equip a New Stone → Reach Level 20 → Rebirth Now
This guide follows the same order.
Step 1: train SKILL on the lanes
- From spawn, walk forward to the training lanes. They are marked 1x SKILL, 4x SKILL and 10x SKILL.
- Stand on the 1x SKILL lane. This is the only one open at the start.
- Wait while your SKILL and Level bar go up. This finishes the first goal, Get 30 Skills.
- Press Space (jump) to leave the training zone.
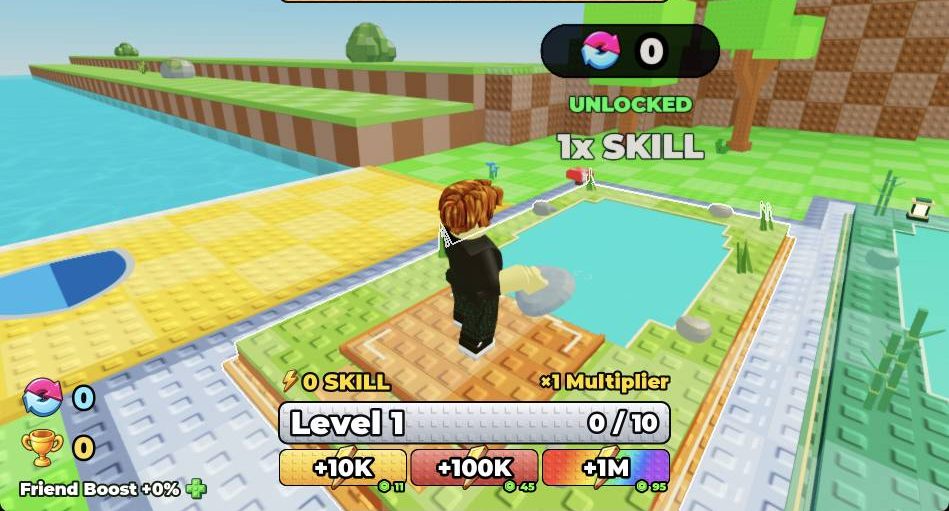
Walking off the lane does not work. The game tells you to "JUMP TO EXIT TRAINING ZONE", so always jump.
Later on, the 4x SKILL lane opens at 2 rebirths and the 10x SKILL lane at 4 rebirths. Always train on the highest lane you have unlocked.
Step 2: throw from the yellow Throw Zone
- Walk onto the yellow Throw Zone platform at the water's edge.
- Click the green THROW button at the bottom centre, or press E.
- Watch the stone skip. Your distance in metres and the zone name (like Palm Beach) show at the top.
- Your Wins go up. Throw again once the button comes back.
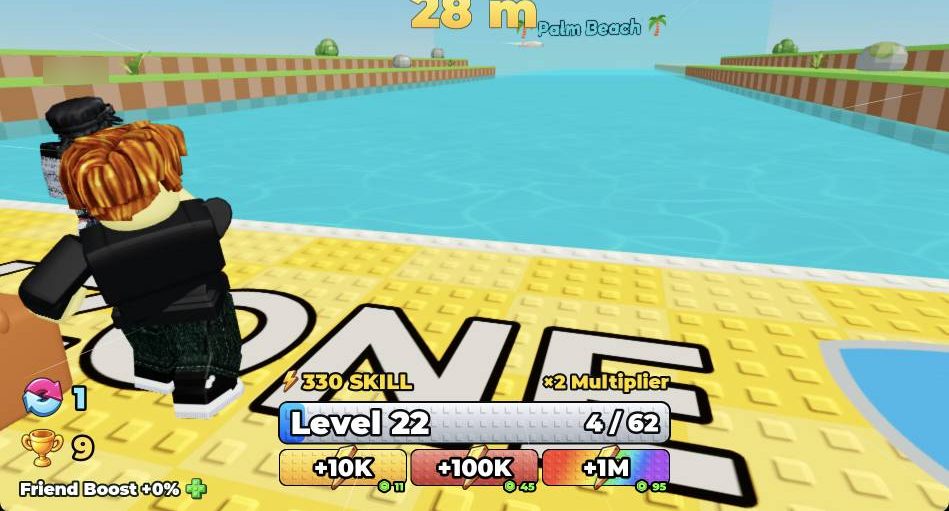
The THROW button only appears while you stand on the yellow Throw Zone. It also hides while a throw is happening. If you can't see it, check you are on the platform, then just wait for it to return.
Get 2 Wins to finish the Get 2 Wins goal. Then go back and train some more. More SKILL means longer throws and more Wins each time.
Step 3: buy your first stones and relics
When you can afford something, a message like "You can buy X (N Wins)" pops up at the top.
- Walk forward and left from the Throw Zone to the green pedestal area.
- Stand at a pedestal marked UNLOCKED.
- Press or hold E to buy. The item equips by itself, and you'll see "purchased and equipped".
Good first buys:
- +3 Skill stone for 2 Wins. Buying this finishes the Equip a New Stone goal.
- +5 Skill stone for 10 Wins.
- Ammonite Fossil (a relic) for 10 Wins, which gives +5 Skill.
Each one makes you gain more Skill, so cheap early buys are well worth it. Pedestals marked LOCKED cost more Wins than you have. Bigger items, like the Roof Tile for 500 Wins, come later.
Step 4: hatch the 50-Win Common egg
Once you have 50 Wins, you can hatch your first pet.
- Walk from the Throw Zone back to the egg stand with the Common egg (50 Wins).
- Stand next to it until a panel opens. It shows the pet odds and three buttons: Hatch (E), Multi (R) and Auto (T).
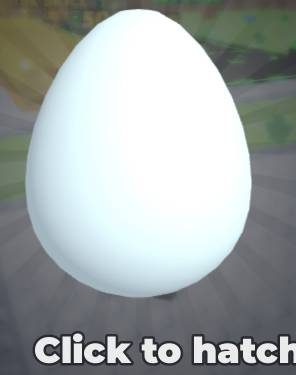
- Press E to hatch one egg.
- On the "Click to hatch" screen, click the egg until it cracks.
- Click to continue past your pet card. A Common pet like Clover Bun is a normal first pull.
You can see your pets with the Pets button on the left menu. It has an Equip Best option.
Step 5: rebirth for the first time at MAX LEVEL 20
Keep training and throwing until you Reach Level 20. That is the first level cap.
- Wait until the Level bar says MAX LEVEL and the Rebirth button on the left shows 100%.
- Click the Rebirth button on the left menu.
- Check the popup. It should show your SKILL multiplier going up by 1.
- Click the green Rebirth button.
- Wait for the white flash to finish. Then close the popup with the red X.
Rebirth resets your Level and SKILL to 0, so only do it at MAX LEVEL. In return, your multiplier goes up and your level cap goes up by 20. The caps go 20 → 40 → 60 → 80. At 2 rebirths you unlock the 4x SKILL lane, which speeds things up a lot.
The left menu buttons
The buttons on the left side of the screen are:
- Shop: packs and Robux items.
- Rebirth: opens the rebirth popup and shows your progress as a percentage.
- Pets: see, equip and sort your pets.
- Trails
- Inventory
- Gifts
You don't need the Shop to make progress. Everything in this guide uses Wins only.
When you log back in
Two free things are waiting when you come back:
- Daily reward. In the Daily Rewards popup, click CLAIM YOUR REWARD, then close it with the red X. Day 7 gives the Shooting Star Relic, so log in every day.
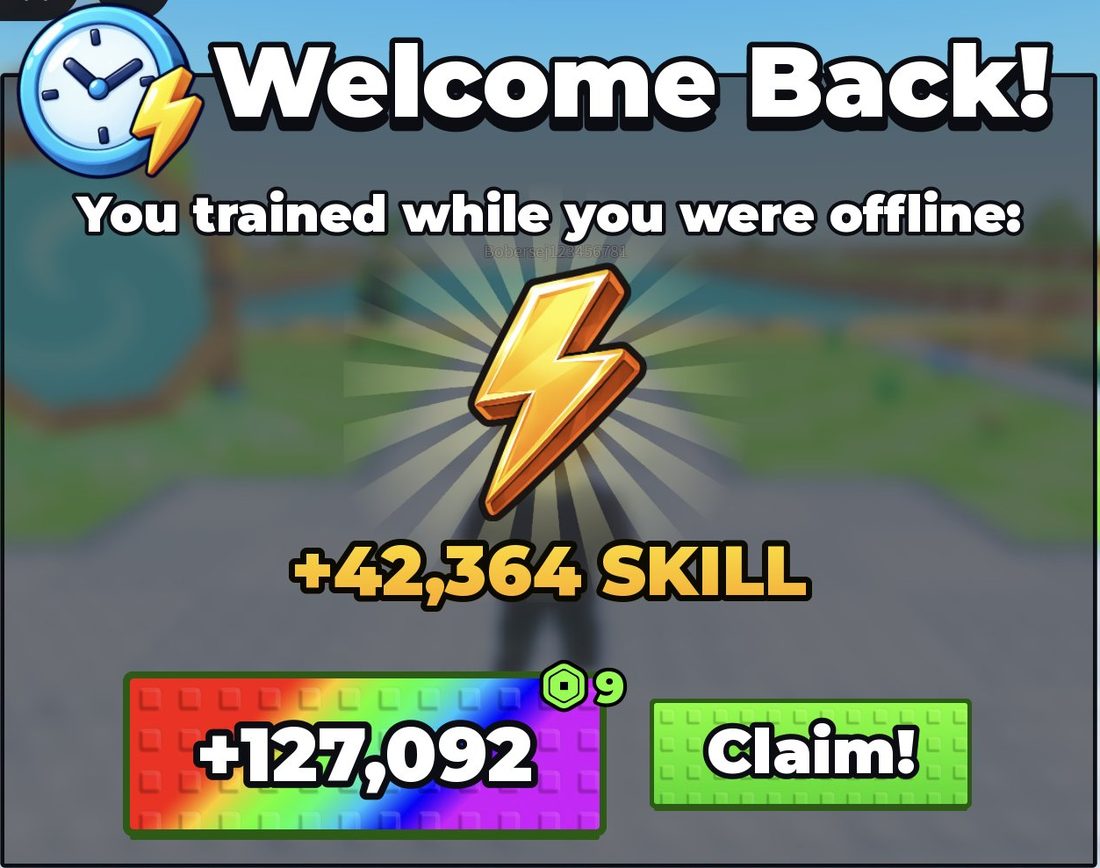
- Offline SKILL. Your SKILL keeps training after you log out. Claim it when you return, and you'll see "Offline earnings collected!". There is also a bigger rainbow option for 9 Robux, but the normal claim is free.
Mistakes to avoid
- Robux offers and pedestals. Buttons like AUTO THROW, +2x SKILL, 2x WINS and +10K/+100K/+1M cost Robux or gems. Some pedestals cost Robux too, like the Phoenix Relic (499 Robux). Be careful when pressing E near them.
- The white flash. The screen goes white for a moment after a rebirth or a transition. Wait instead of clicking.
- Popups left open. Close the rebirth popup and other popups with the red X, or they block play. If a Roblox Favorite prompt appears on top, close that first.
- Rebirthing too early. You lose your Level and SKILL, so wait for MAX LEVEL.
- Walking off the lane. Remember to jump with Space.
Frequently asked questions
How do you leave a training zone in +1 Stone Skipping?
Press Space to jump. Walking off the lane doesn't work, and the game shows "JUMP TO EXIT TRAINING ZONE".
Why can't I see the THROW button?
The THROW button only shows while you stand on the yellow Throw Zone at the water's edge. It also hides during a throw, so wait for it to come back.
What should I buy first in +1 Stone Skipping?
Start with the +3 Skill stone for 2 Wins. Then get the +5 Skill stone and the Ammonite Fossil relic, which cost 10 Wins each.
How much does the first egg cost?
The Common egg costs 50 Wins. Stand next to it and press E to hatch, or use R for Multi and T for Auto.
When should I rebirth?
Only rebirth when the Level bar shows MAX LEVEL and the Rebirth button shows 100%. Your first cap is Level 20. Rebirth resets your Level and SKILL but raises your SKILL multiplier by 1.
Do you get SKILL while offline?
Yes. Your SKILL keeps training after you log out, and you can claim it for free when you come back.
stones
| Name | Price |
|---|---|
| +200 Skill stone | 500 Wins |
| +3 Skill stone | 2 Wins |
| Stone tier | 1x Skill, unlocked (earlier stone) |
relics
| Name | Price | Details |
|---|---|---|
| Ammonite Fossil | 10 Wins | +5 Skill |
| Phoenix Relic | 499 Robux | — |
| relic stand | 14K Wins (+1.25K Skill) | — |